Measuring heat flux is a valuable method for understanding various processes better than just measuring temperature, such as assessing heat flow through walls or cooling specimens. However, achieving accurate and stable heat flux measurements necessitates the correct installation of the appropriate sensor.
Heat flux sensors are a powerful tool for understanding various thermal processes. They have a wide range of applications, together with temperature measurements, from performance analysis of thermal insulation to monitoring of fouling of pipelines and even the health of pigs. Measuring heat flux, basically upgrading your temperature measurement, can provide important insight into thermal processes and system performance.
However, ensuring accurate data requires the use of an appropriate sensor and mounting it correctly to perform stable measurements of both radiative and convective heat flux. This critical step ensures the acquisition of accurate data.
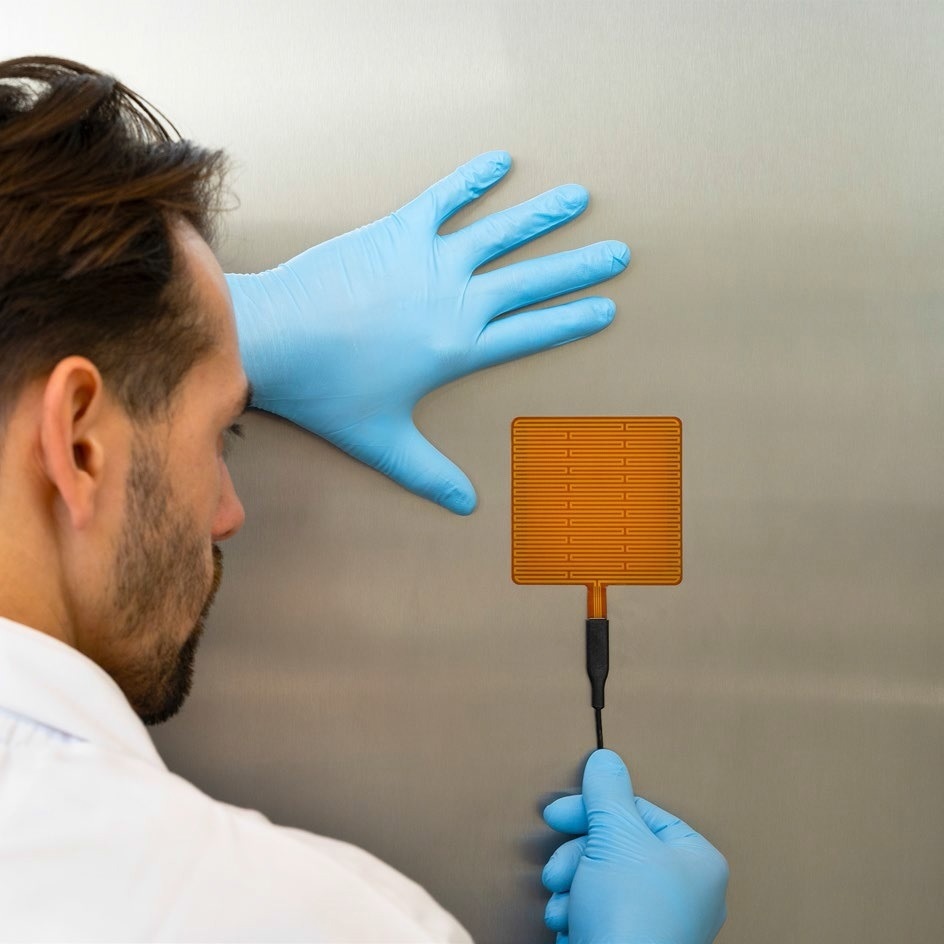
Figure 1. FHF05SC-85X85 heat flux sensor mounted on a wall, using silicone glue. Image Credit: Hukseflux Thermal Sensors B.V.
General Considerations for Heat Flux Measurement
It is vital to ensure the appropriate sensor is employed for the system of interest. Many different models are available with various temperature and heat flux ranges.
It is also crucial to perform a representative measurement. The sensor must be placed at a location representative of the system to be monitored and multiple sensors may be employed to provide an average flux. The representativeness of data can be reviewed using infrared cameras.
Installation Considerations
Regardless of the heat flux sensor type, secure mounting is important to avoid variations in contact resistance between the sensor and the object of interest.
Air gaps between the sensor and the object may cause significant thermal resistance and increase response time. As such, air gaps should be avoided.
Sensors can also gradually become loose, producing unreliable measurements. To prevent this, a stable glue or filler and high-quality cabling and strain relief should be utilized.
Attention must be paid to the sensor surface's optical properties, which should match those of the object the sensor is mounted on.
Mounting
The mounting of a heat flux sensor varies depending on the application.
varies depending on the application. Two key parameters to consider before deciding on a mounting solution are: temperature range and the duration of measurement. These two parameters will aid in selecting the appropriate mounting solution for the heat flux sensor.
Table 1 and the examples at the end of this article will help when it comes to reviewing your options.
Always ensure strain relief on the cable to avoid unnecessary stress on the sensor.
Table 1. Options for mounting heat flux sensors. Materials may act to fix the sensor position, but also to fill up airgaps. Source: Hukseflux Thermal Sensors B.V.
| NR |
product |
duration |
rated temperature range |
functionality |
comments |
| [#] |
[description] |
[description] |
[˚C] |
[description] |
[description] |
| 1 |
powerstrip |
temporary, easily removable |
15 to 40 |
fixation and gap filling |
TESA Powerstrip. very easily removable. |
| 2 |
glycerine |
minutes |
to 120 |
gap filling only |
filler only for quick experiments; glycerine can be obtained at the local pharmacy. It is safe to use and easily dissolves in water. |
| 3 |
toothpaste |
days |
40 |
gap filling only |
filler only, use with other fixation such as single sided tape
water-based
most commercially available toothpastes are suitable |
| 4 |
double sided tape |
2 weeks, removable |
40 |
fixation and gap filling |
TESA 4939 floor laying (carpet) tape combines a high initial bonding power with a residue free removability up to 14 days from the most common surfaces. (needs to be tested individually before usage) |
| 5 |
thermal paste |
weeks |
to 177 |
gap filling only |
filler only, use with other fixation such as single sided tape
silicone oil-based
DOW CORNING heat sink compound 340
OMEGATHERM conductive paste |
| 6 |
silicone glue |
permanent |
-45 to 200 |
fixation and gap filling |
most commercially available silicone glues are suitable
DOWSIL 3145 silicone sealant |
| 7 |
single sided tape |
temporary or permanent |
-260 to 150 |
fixation only |
fixation only, use with other fillers such as thermal paste
TESA 51408 orange masking tape
most commercially available Kapton tapes are suitable |
| 8 |
magnets |
temporary or permanent |
to 500 |
fixation only |
on magnetic surfaces only
for sensors with optional “frame with magnet” only
in case using welded treads or bolting is not |
| 9 |
tack welded threads |
temporary or permanent |
-260 to 1000 |
fixation only |
for sensors with flanges
fixation only, use with other fillers such as silicone, graphite sheet material or cements
usually combined with springs |
| 10 |
bolts |
temporary or permanent |
-260 to 1000 |
fixation only |
for sensors with flanges
fixation only, use with other fillers such as silicone,
graphite sheet material or cements
usually combined with springs |
| 11 |
silicone gasket |
temporary or permanent |
to 200 |
Gap filling only |
filler only, use with other fixation such as bolts or threads
ERIKS silicone sheet 0.5 mm
users can cut sheets to size |
| 12 |
graphite gasket |
temporary or permanent |
to 500 |
Gap filling only |
filler only, use with other fixation such as bolts or threads
ERIKS Ergaflex or similar sheet material
users can cut sheets to size. |
| 13 |
high temperature cement |
temporary or permanent |
to 1400 |
fixation and gap filling |
OMEGA high temperature cement |
| Other options for mounting |
| 14 |
Cements and epoxies |
various |
various |
various |
OMEGA cements and epoxies |

This information has been sourced, reviewed and adapted from materials provided by Hukseflux Thermal Sensors B.V.
If you would like to have more information about heat flux measurements and heat flux sensors, please contact Hukseflux